BeepBlock FX
 +
+ 
Theory
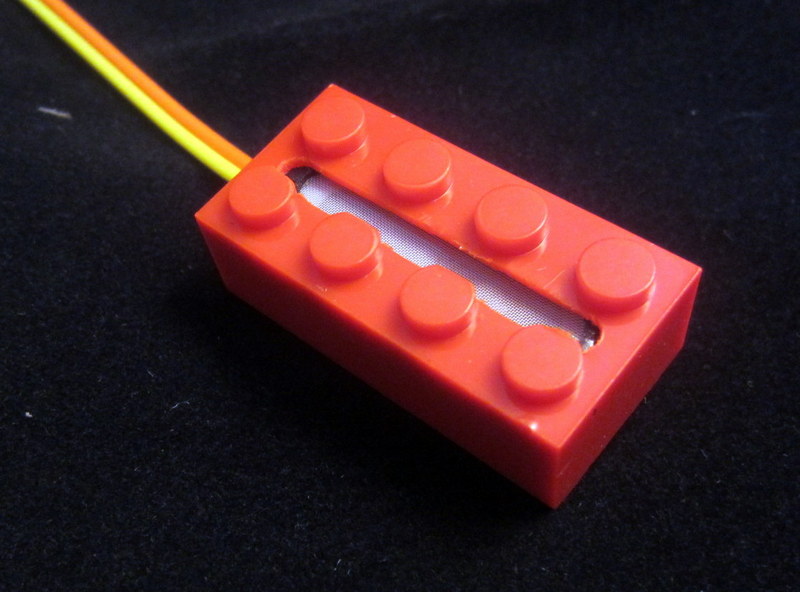
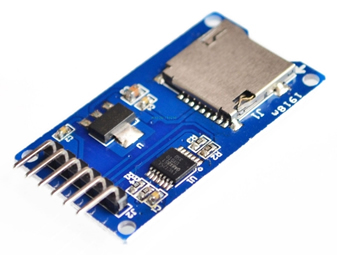
To produce sounds (other than beeps/tones) such as recordings, music, and voice requires
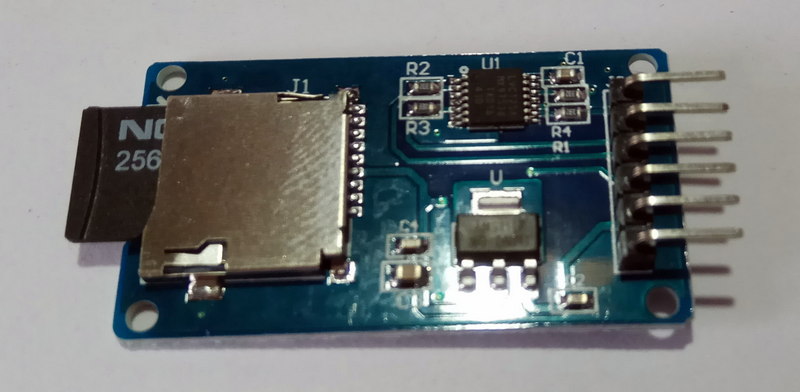
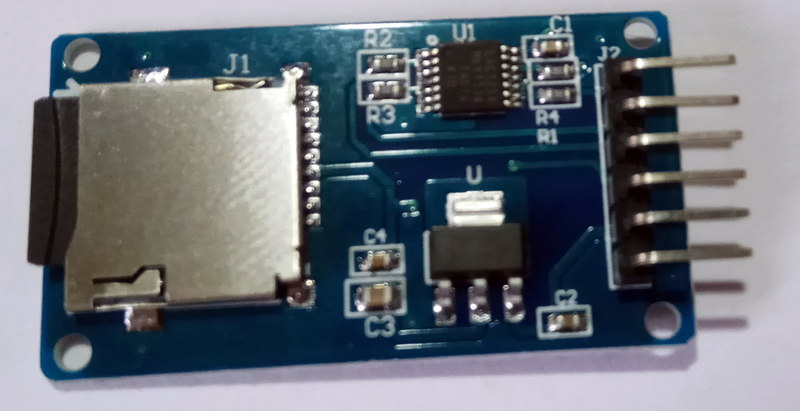
a MemoryBloX (SD card) connected to the BrainBloX
Audio files can take up a lot of memory. The BrainBloX (Arduino Nano) only has 30720 bytes (30KB) of program memory.
Uncompressed CD quality (44,100Hz) stereo audio requires about 176,400 bytes per second (176KB/s)
We can reduce the quality of the audio to save memory (and make it easier for our robot to process).
Switching from Stereo to Mono we cut the amount of data in half.
We then resample the audio at only 31,250Hz and switch from 16 bit to 8 bit.
This gets us 31,250 bytes per second (31KB/s)
This is about 5 times smaller than CD audio.
But even if we wiped out everything in our robot’s memory, there would only be enough room for 1 second of audio (and not any room left-over for the program to know how to play it!)
With a 256MB SD Card, you can store about 2 hours of audio!
Audacity Instructions
First we must setup Audacity to record with settings our BeepBloX can play
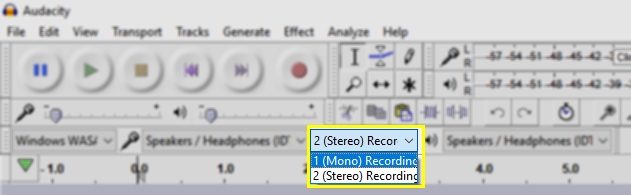
Change recording type from Stereo to Mono

Change the project rate (bottom left of the screen) to 32000 Hz
The actual value is 31250 (but 32000 is close enough)

Make sure your Microphone is turned up lound enough (but not too loud)
Then press the record button
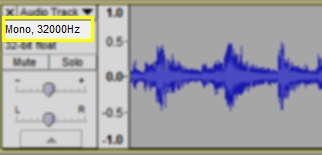
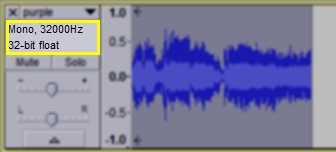
You can check that you got the settings correct by looking at the track
info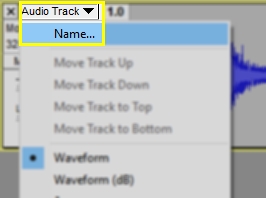
To keep track of all your recordings it may help you to give them a name
Click on "Audio Track", then choose "Name..." from the menu
Give it a name to help you remember which track it is
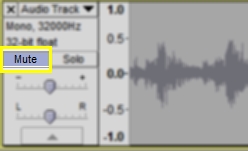
Before you record another track you want to make sure all the other tracks you have are Muted
so they don't play while you record

Press rewind before recording a new track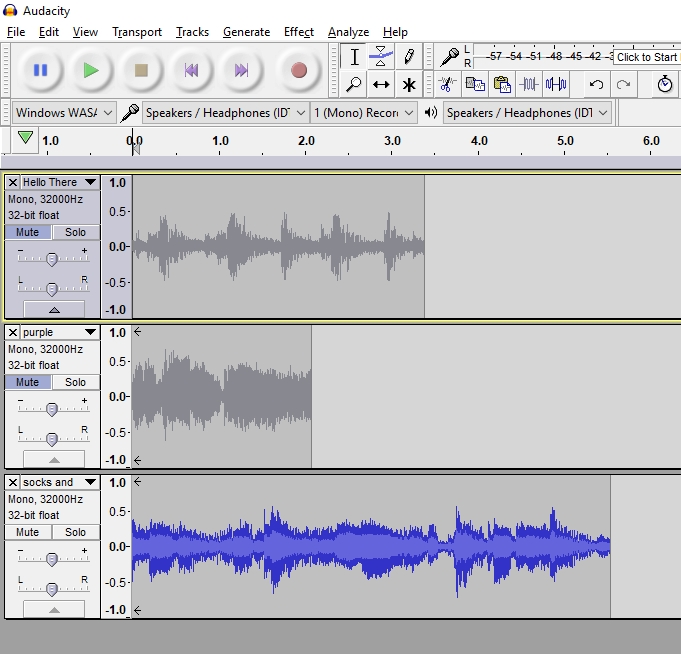
Record as many tracks you want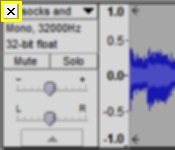
You can delete any tracks you don't want by clicking the X on the track- Once you have recorded all the tracks you want
You can start exporting them as Sound Wave files...
Select the track you want to save
by clicking
anywhere in the track info area
this will select (highlight) the entire track
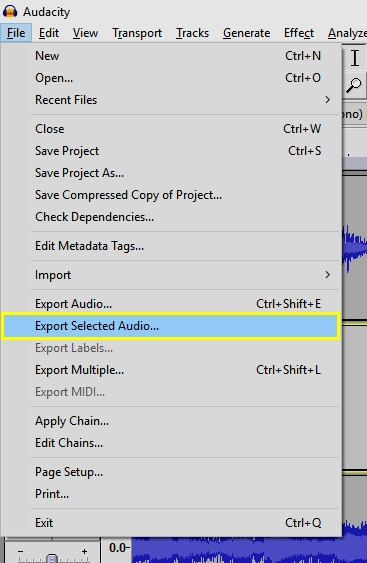
From the menu at the top of the screen
Choose "File" then "Export Selected Audio..."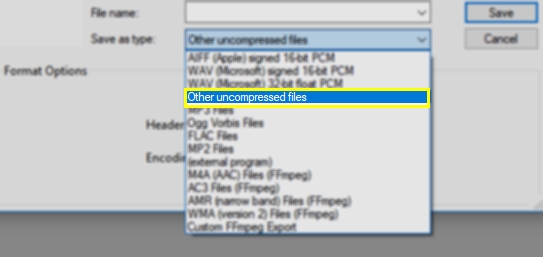
If needed change the Save as type:
"Other uncompressed files" 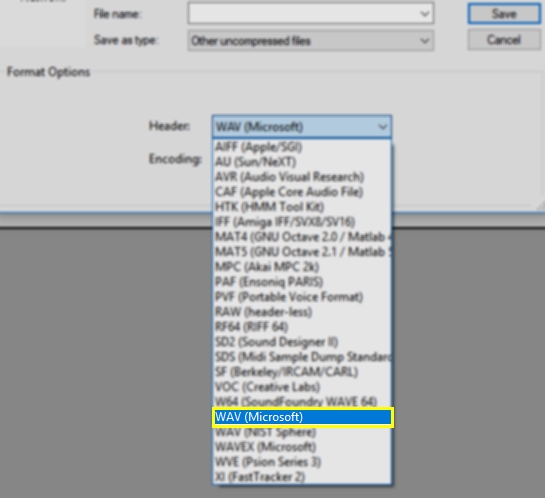
If needed change the Header:
"WAV (Microsoft)"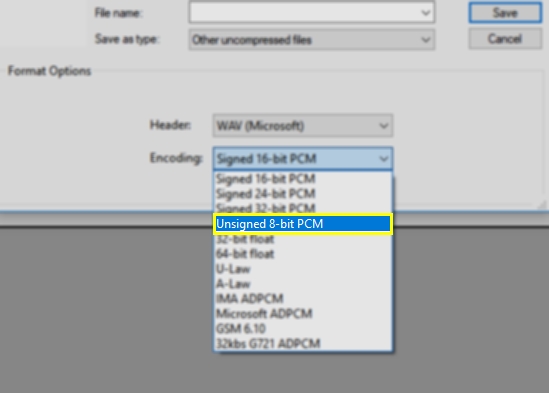
If needed change the Encoding:
"Unsigned 8-bit PCM"
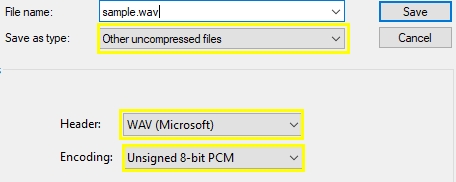
Files must be saved as:
"Other uncompressed files"
"WAV (Microsoft)"
"Unsigned 8-bit PCM"
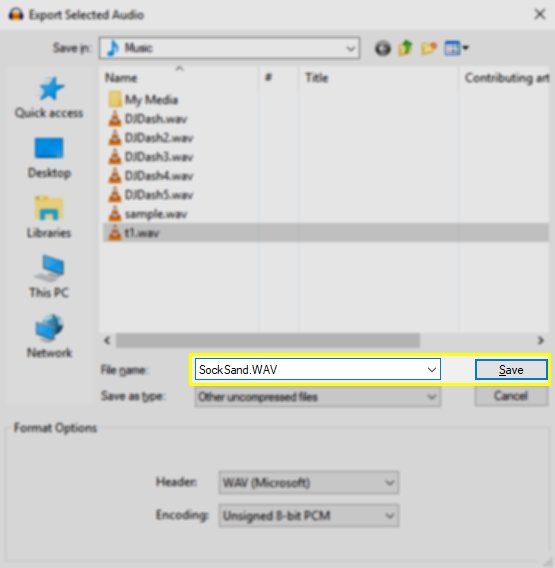
Give your file a name
Save it somewhere you can find it
(Desktop or Music folder)
FILE NAME RULES:
1) Max 8 characters long
2) No spaces
3) Only Letter and Numbers
(UPPER/lower case doesn't matter)
4) End with .WAV
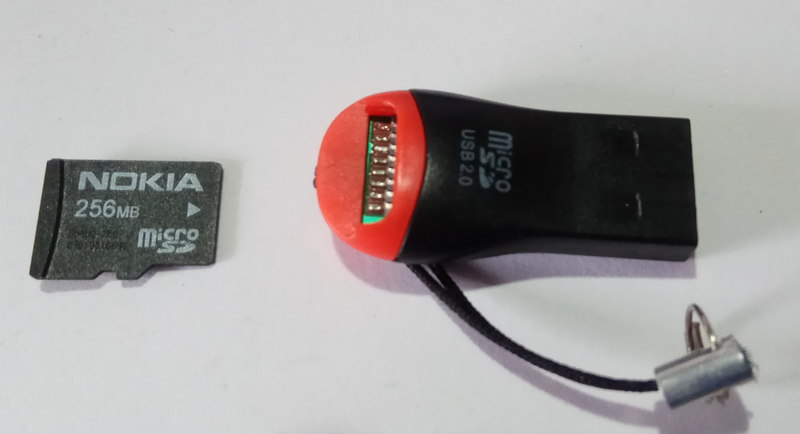
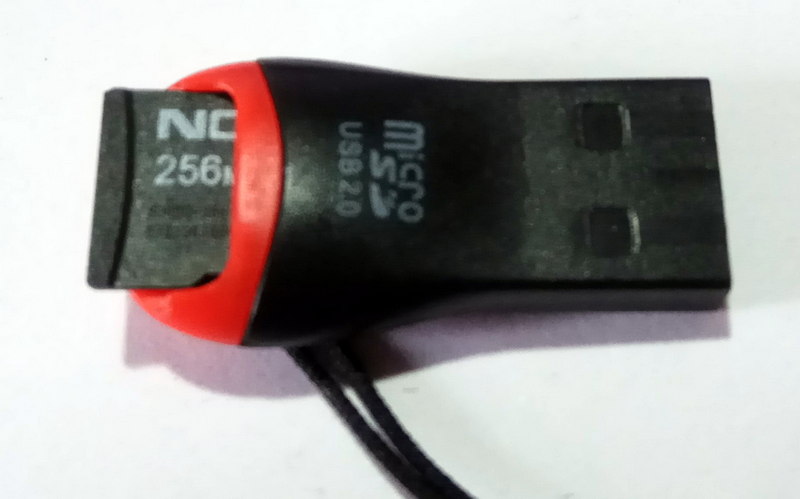
Place SD card into the USB card adapter
Plug adapter into your computer
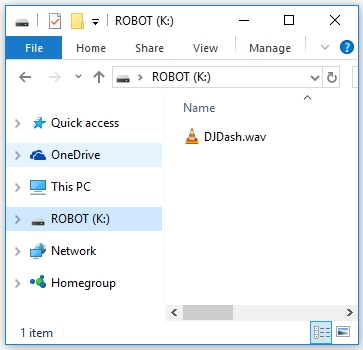
Copy the file to your SD Card
Do NOT rename, delete, or overwrite files!
If you do, you must format (not fast-format) the SD card to erase everything on it. 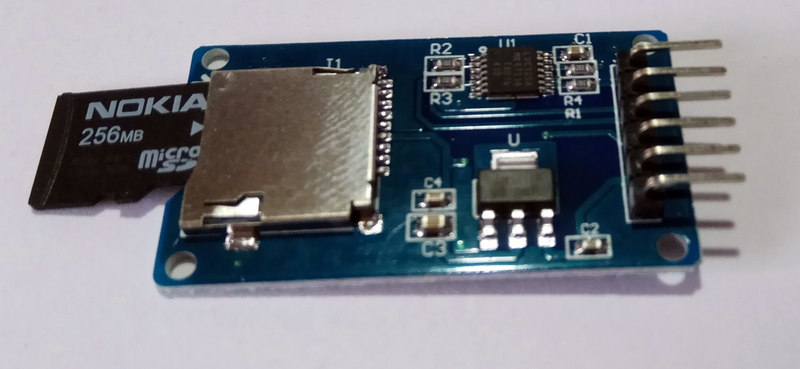
Place the SD card back into your card reader
(It clicks in and out like clicking a pen)
Converting Imported Sound Effects Files or Songs
- To add a file:
Drag and drop the file into Audacity
or
File -> Import -> Audio...
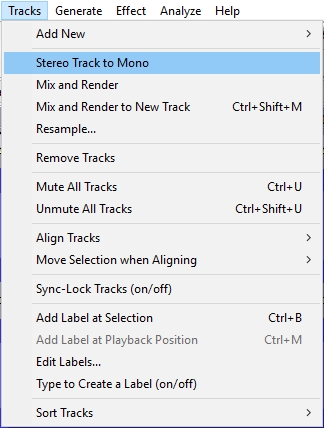
Covert the track to Mono
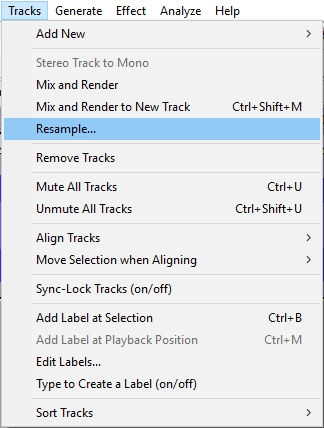
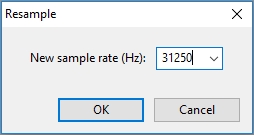
Resample the track to 31250 Hz (or 32000 Hz)
- Now you can follow the normal instructions for exporting this track