

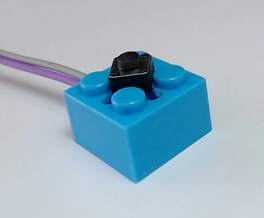
A button is a type of switch. When pressed it closes the circuit allowing current to flow.
The button is connected to GND (ground) and Signal, when the button is pressed we say the input is "pulled low", when the button is released a resistor inside the arduino "pulls the input up".


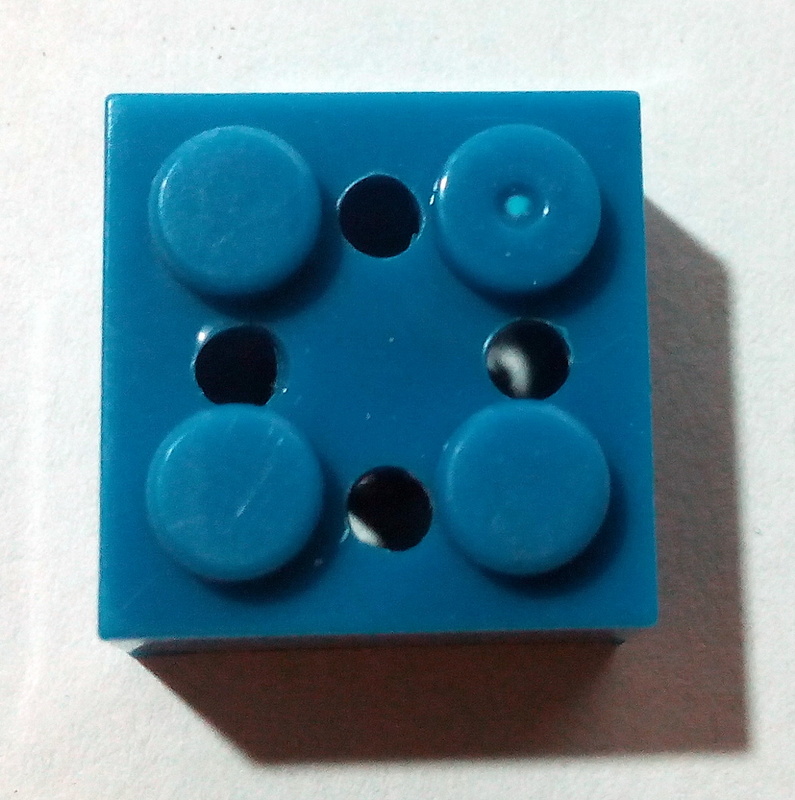
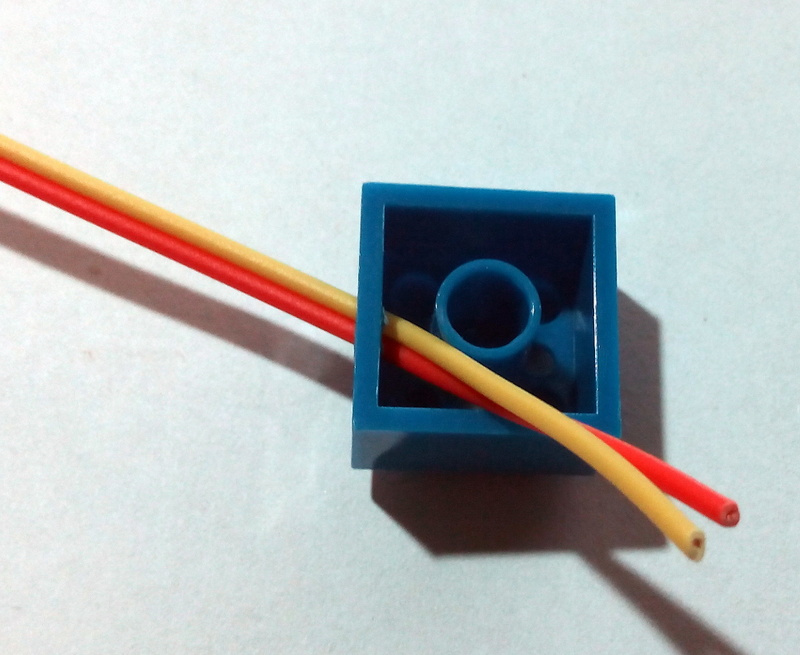
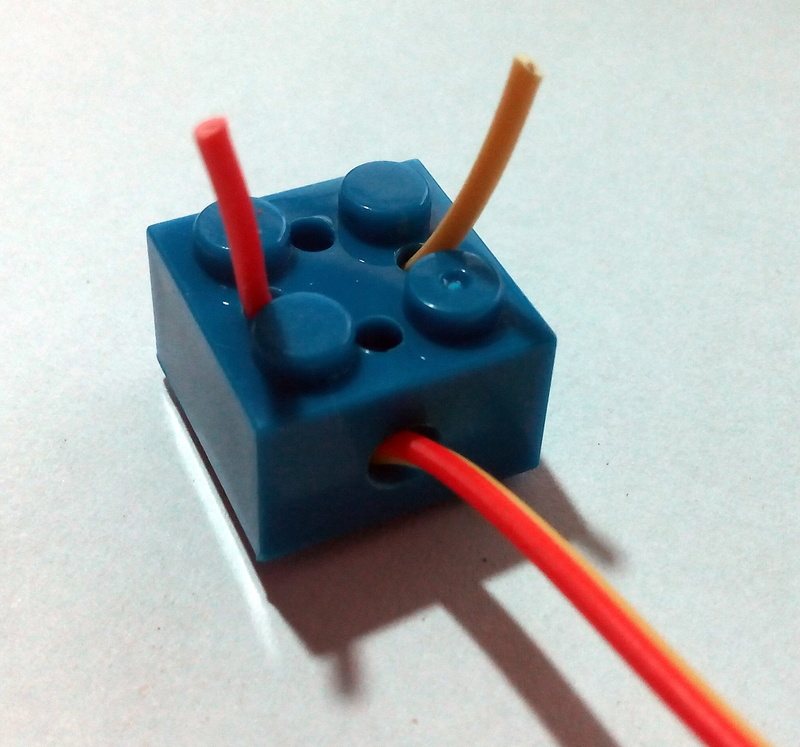
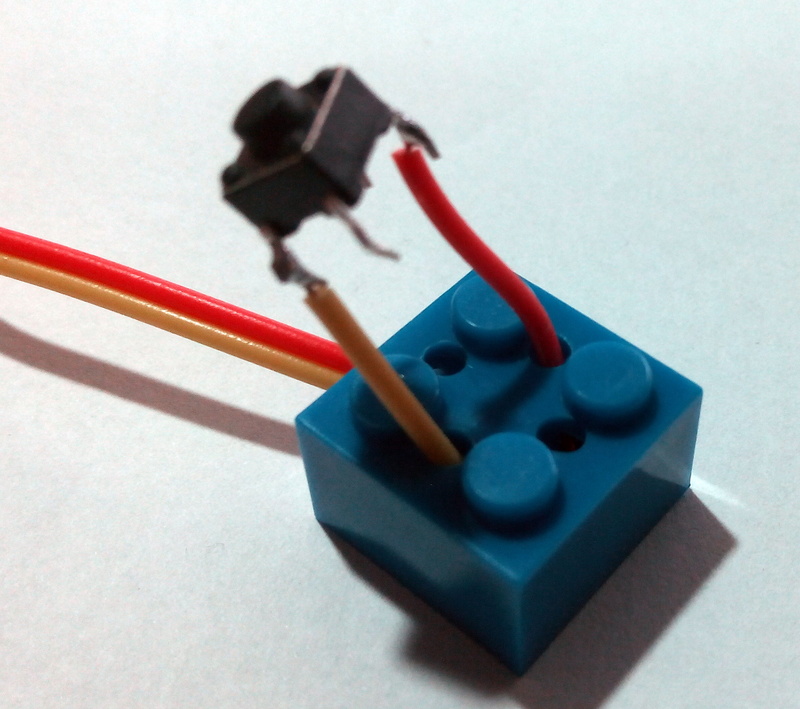
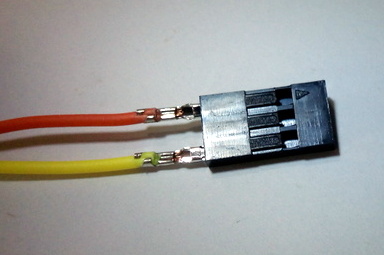
The ButtonBloX can be connected to any Digital Pin
(D0 & D1 should not be used as they reserved for USB communication)
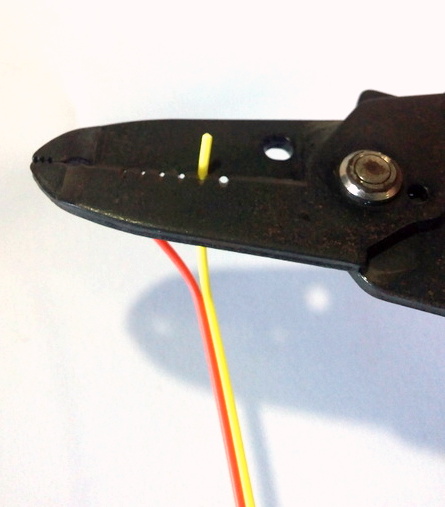
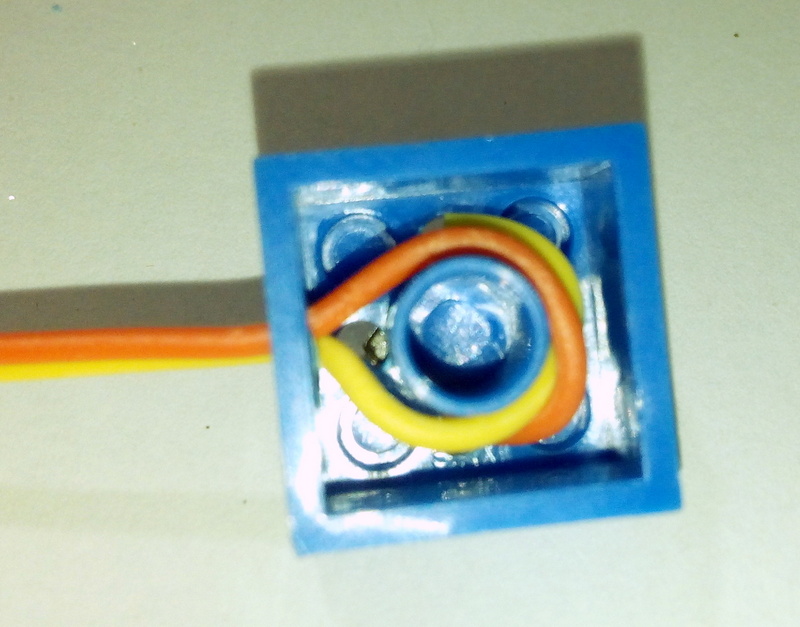
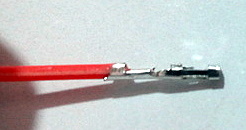
If it is connected backwards no damage is done, it works both ways.
![]()
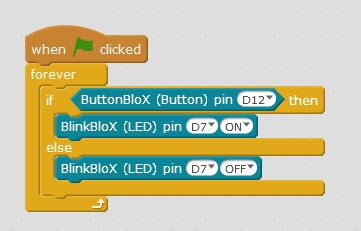
Turns the LED on and off with the button
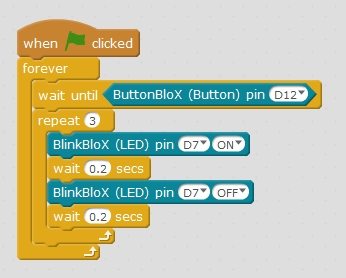
Blinks the LED 3 times each time the button is pressed
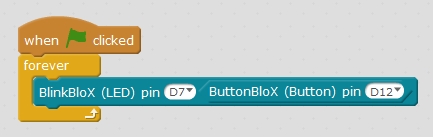
Turns the LED on and off with the button
(same thing as the first example, but in a different way)