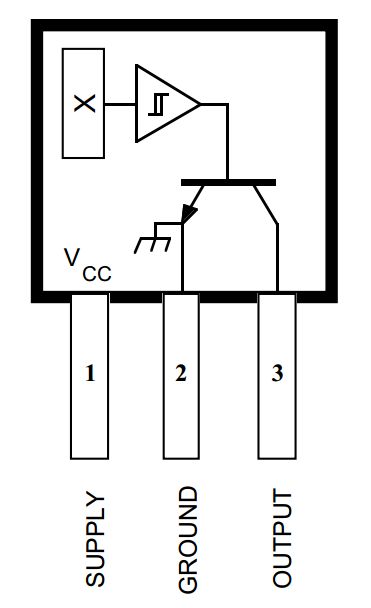
Hall Effect Sensors can detect a magnet field. If the magnet is the correct way around the sensor will send a signal to the Arduino.
Assembly
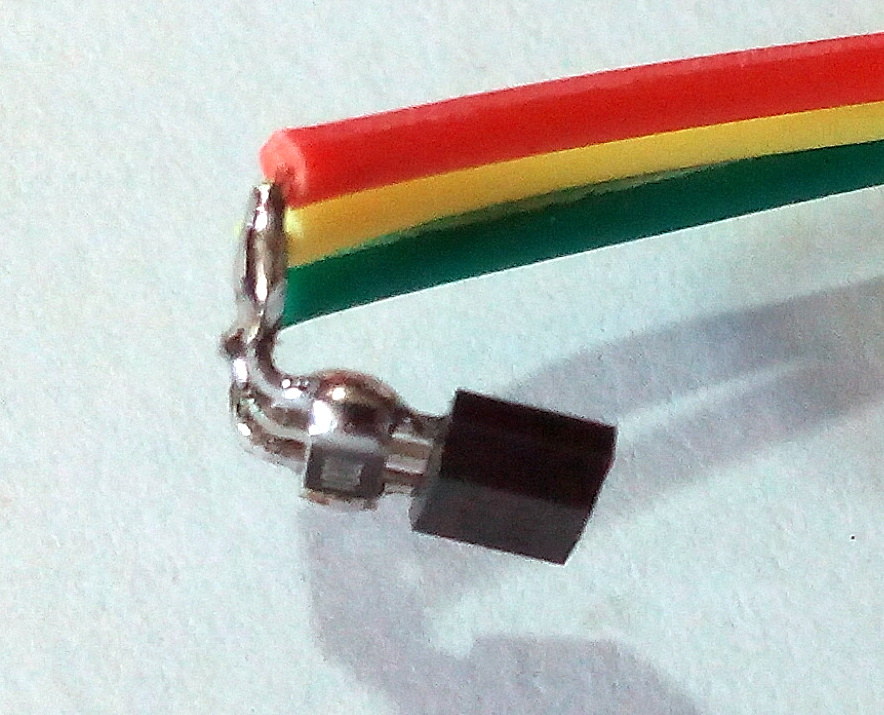
The sensor should be bent like the picture
The wires should run past the back of the hall sensor.
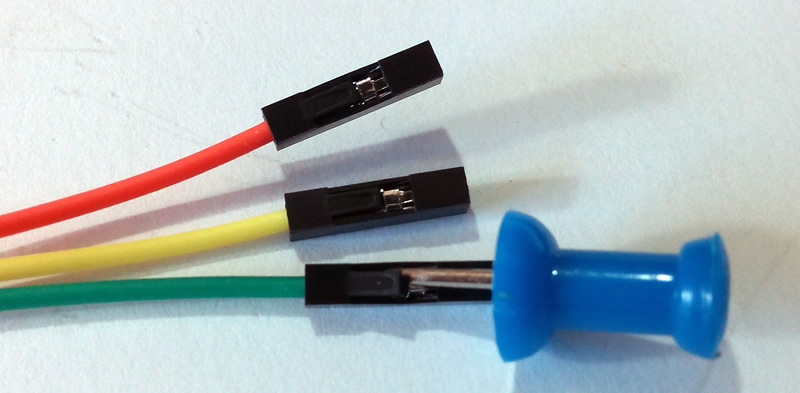
Use a pin to bend the little black plastic "tongue" up
Gently slide the plastic housing off the ends of the wires
Remove all 3 of the black plastic housings from the ends of the wires
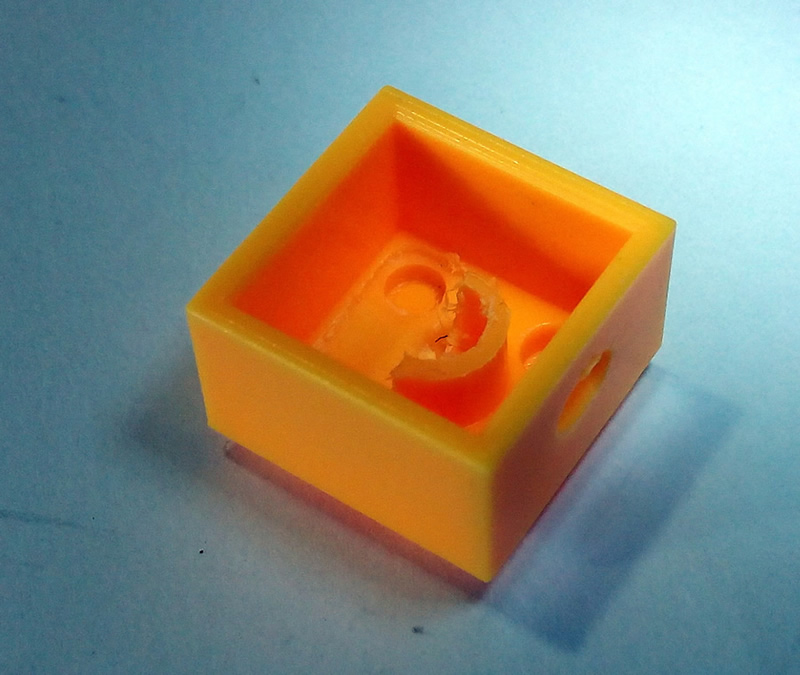
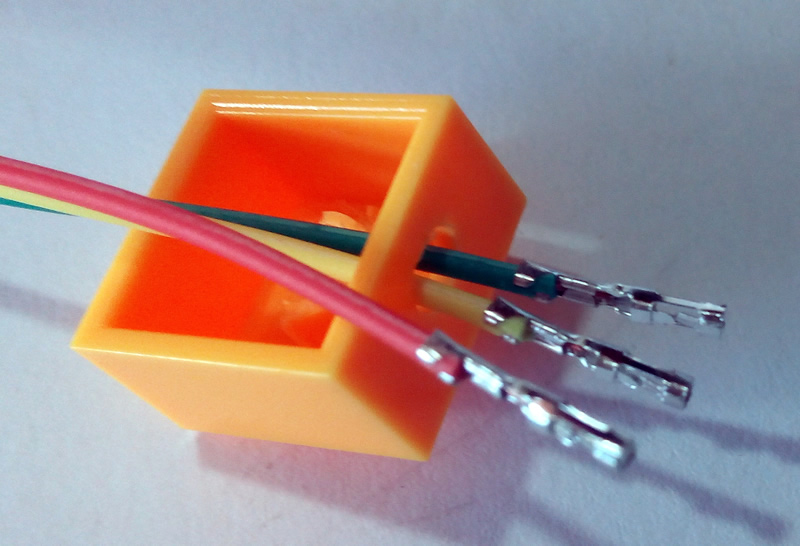
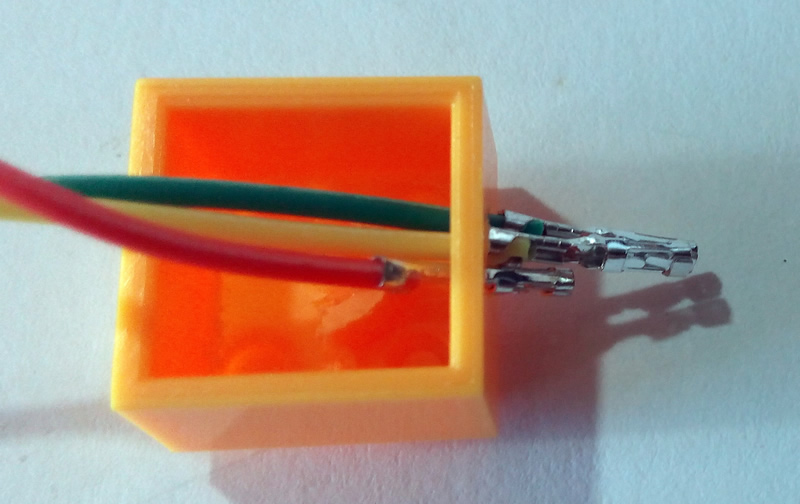
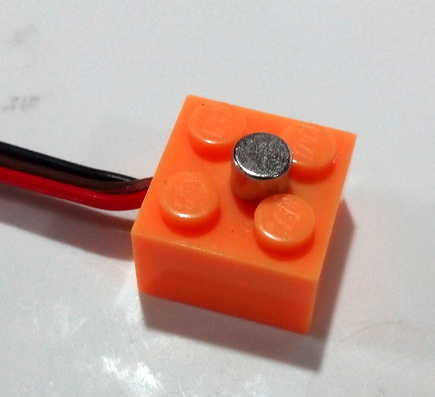
Insert the ends of 2 of the wire into the block
(From the inside of the block) You may need to push the ends of 2 wires through the hole before you can get the third through.
Push the third wire through
Pull the wires through until the sensor is almost in the block
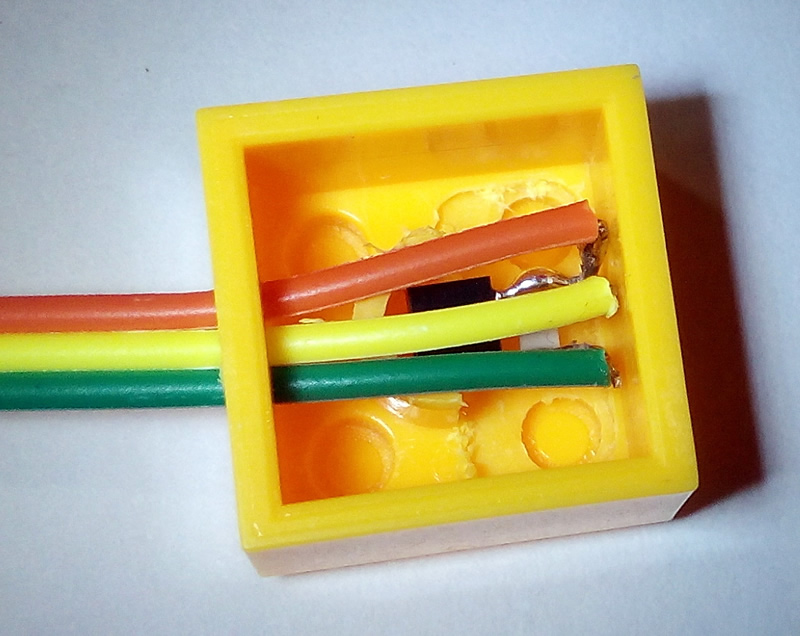
Make sure it is the same way up as in the picture If you need to flip it over, pull it back to the ends of the wires, flip, and pull it back.
Carefully position the sensor in the block
Check with Mr. Dash before continuing
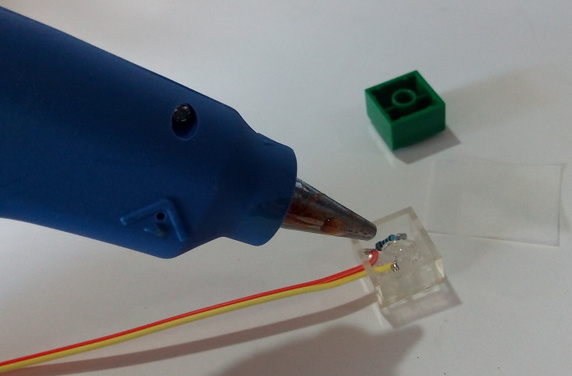
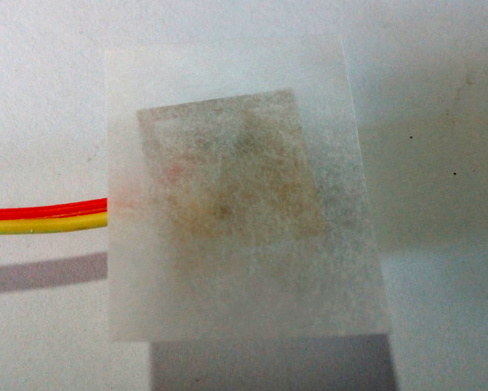
Make sure you have all the materials in the picture before gluing
(Extra Brick & Wax Paper)
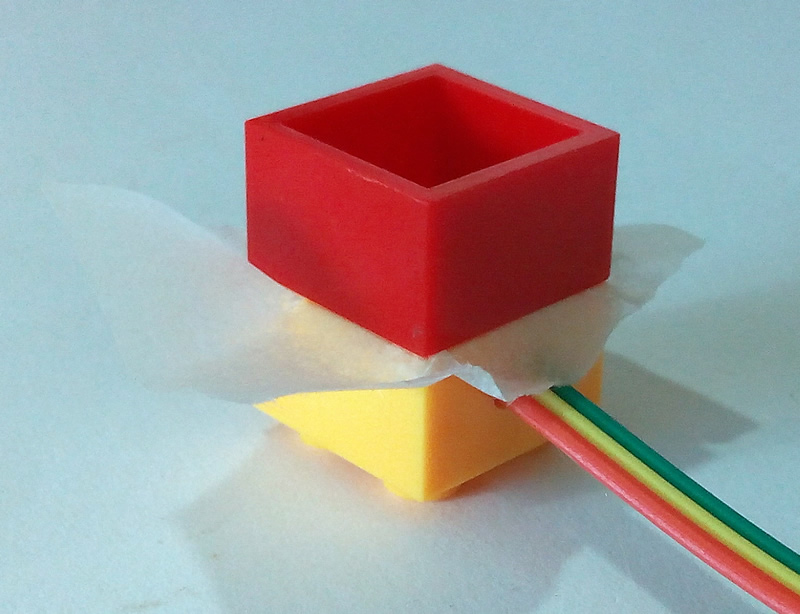
Fill your block with hot glue
Only use enough glue to cover the wires and sensor
(too much and it will squish out the sides)
Cover the block with wax paper (baking paper)
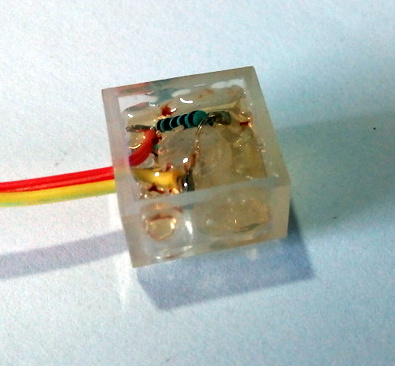
Place another block onto your MagBlock
This makes sure the glue is squished down enough
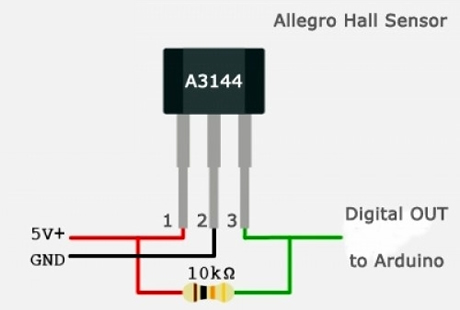
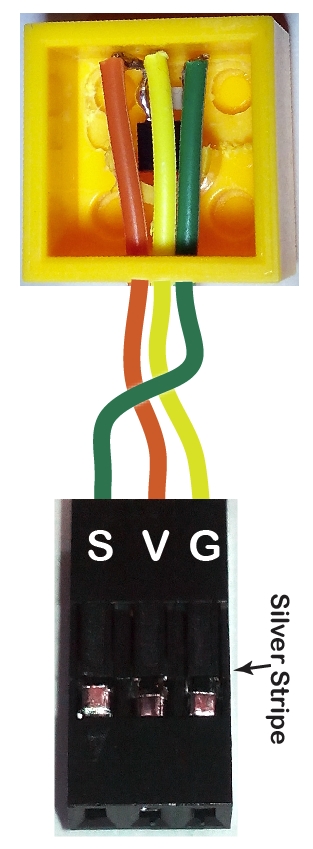
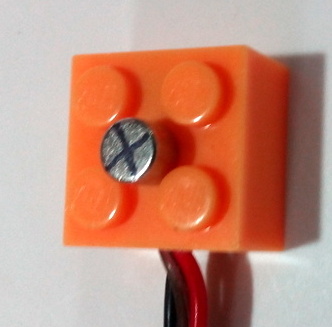
Place all 3 wires into the connector so they match the diagram
Mark the G side with a silver pen
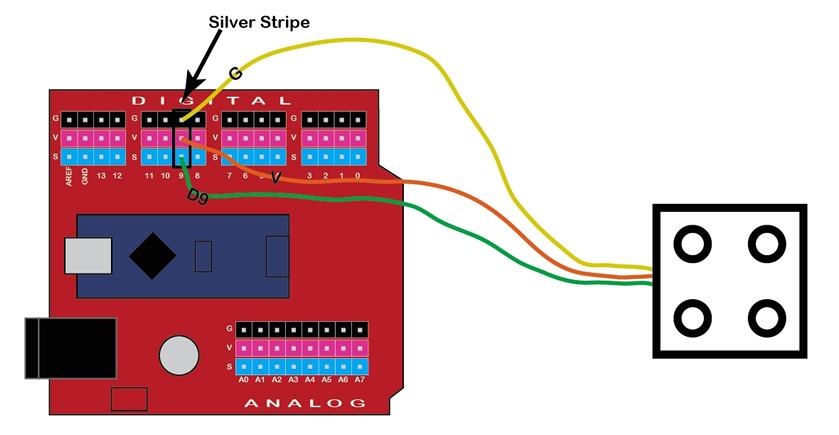
Connection Diagram
The MagBlock can be connected to any digital pin.
(Don't use 0 or 1 as they are used for mBlock)
Remember the silver stripe always goes to G (Ground).
Hints
The MagBlock can only detect one pole (side) of a magnet.
When testing the MagBlock try both sides of your magnet.
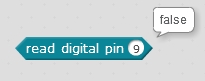
You can check the signal from the MagBlock using a read digital pin block
Each time you click on the block it will show true or false
Remember it will be backward (active high)
True (High) = No Magnet near sensor
False (Low) = Magnet near sensor
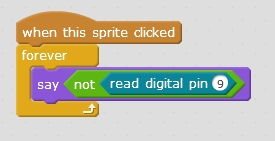
You can use a not block to flip the signal the right way around
True (High) = Magnet near sensor
False (Low) = No Magnet near sensor
You can use a loop to display the result
without having to click on it over and over
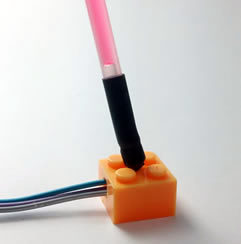
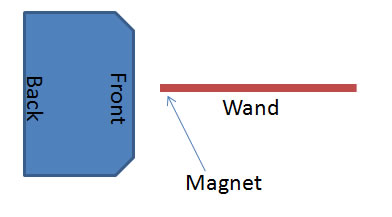
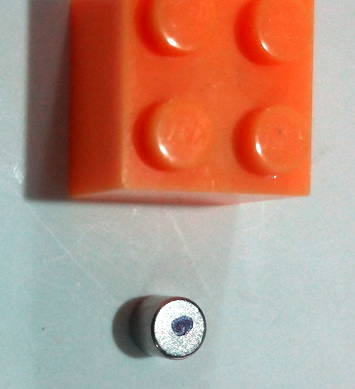
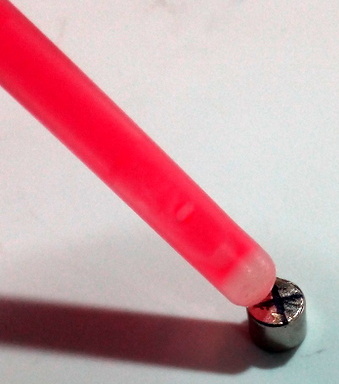
Magnet and Wand
The MagBlock can only detect one pole (side) of a magnet.
You should figure out which side of your magnet works, and mark it with a marker.
Mark the side that doesn't activate the sensor with an X
Mark the side that activates the sensor with an dot
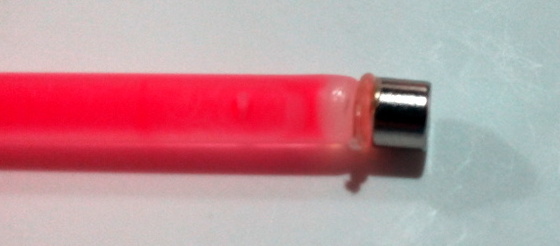
Hot-glue the X-end of the magnet to a glow-stick
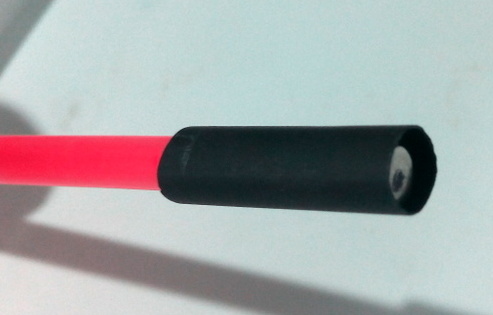
Cover the glow-stick and magnet with heat-shrink-tube
Carefully shrink the tubing with a lighter by
Waving the flame back and forth
and slowly spinning the stick