Xtreme STEM
DashX

RoboBloX

PowerBlock

PowerBlock


Theory

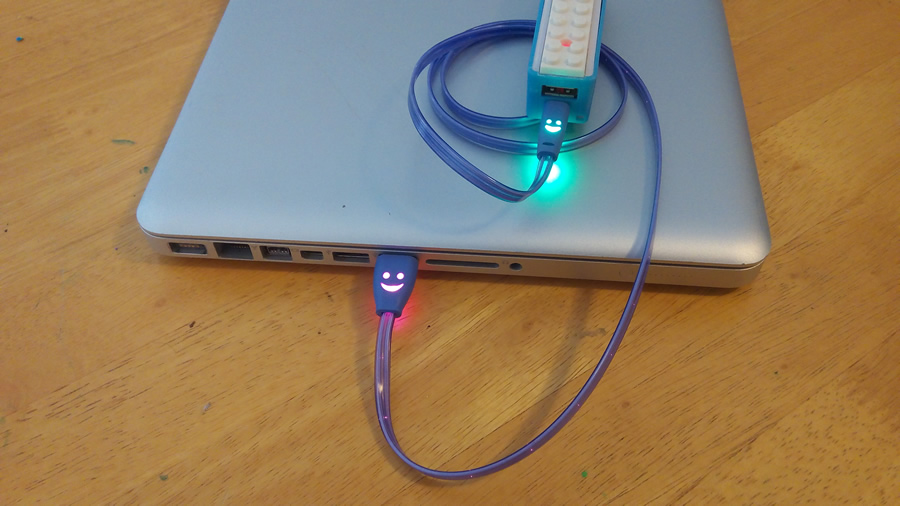
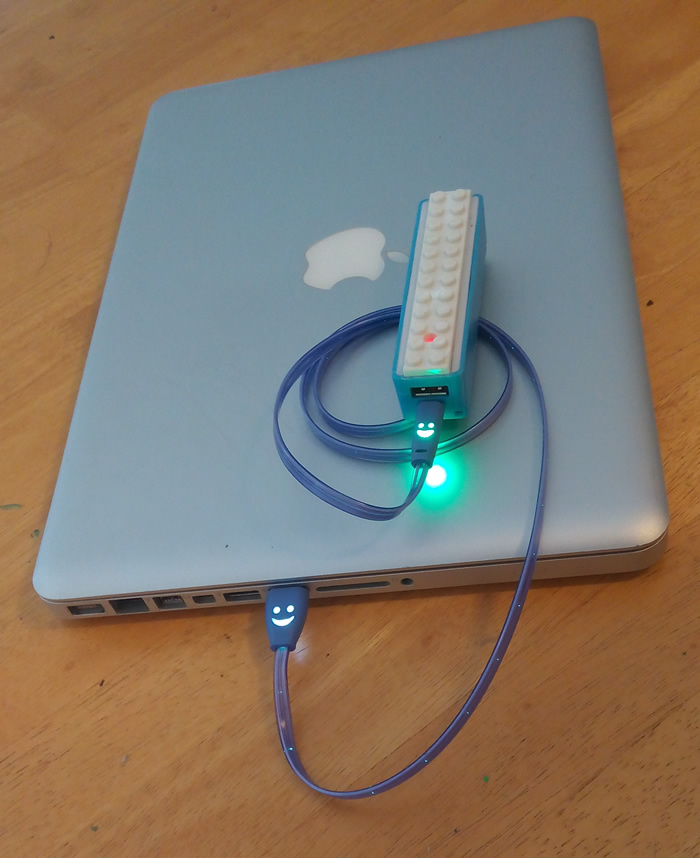
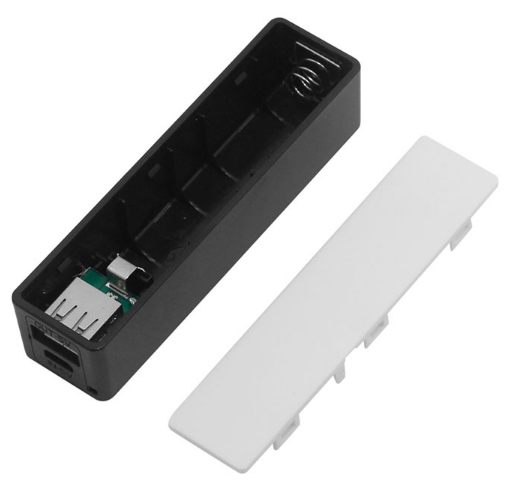
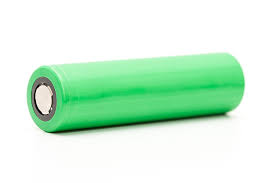
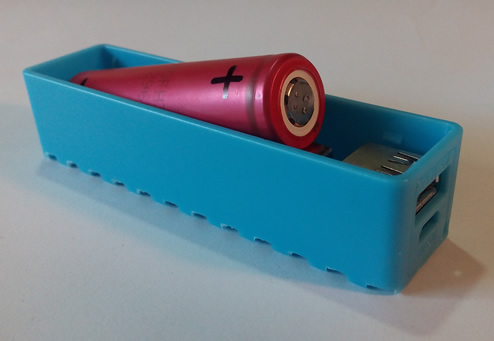
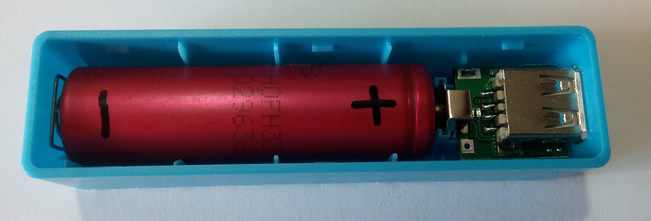
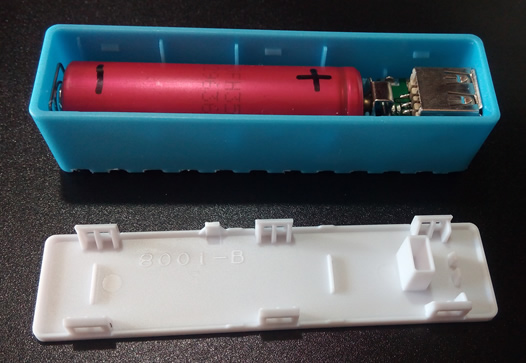
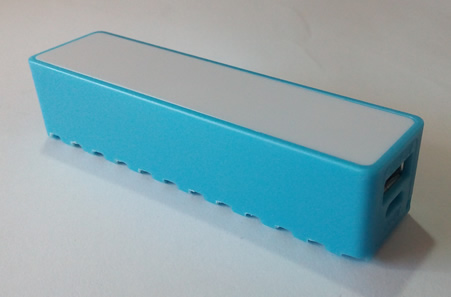
The PowerBlock contains a rechargeable Lithium Ion (Li-ion) battery. The battery provides about 3.7 volts. This is not enough for the BrainBlock. The PowerBank has a circuit that boosts the voltage up to 5V.

The circuit also protects the battery while it is charging and being used.

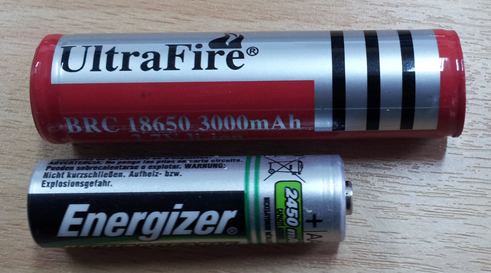
Below is a picture of an 18650 Li-ion battery next to a smaller AA battery. AA Batteries are only 1.5V compared to 3.7V of Li-ion batteries.

18650


Assembly - Part I (Battery)

  1. Materials Required


    Powerbank18650
    1 - Powerbank
    1 - Battery (18650)
  2. WARNING - Placing the battery in backwards
    will immediately DAMAGE your PowerBlock
    PowerBlock

  3. PowerBlock
    Place the circuit board into the plastic case.
    It should slide straight down into place.
  4. PowerBlock
    Place the battery BESIDE the case with the
    Negative (-) end at the spring end
    Positive (+) end at the USB end

  5. Stop
    Check with Mr. Dash before continuing
  6. PowerBlock
    Place the negative (-) end against the spring

  7. PowerBlock
    Press the battery down into place
  8. Using
    Check that your PowerBlock works before placing the cover on
    See the Connection Diagram below for more details
  9. CoverCover
    PowerBank
    Snap the cover on
    It will only go on one way
    (the little rectangluar part that sticks out goes at the USB end)


Assembly - Part II (Top Lego)

  1. Materials Required


    PowerBankBlocks
    1 - Powerbank (with cover)
    1 - Brick 2x12
    1 - Brick 2x3

  2. PowerBlock
    Drill a hole in the 2nd spot from the end of a 2x12 brick
    (This is so you can see the battery charging LED)
  3. Jig
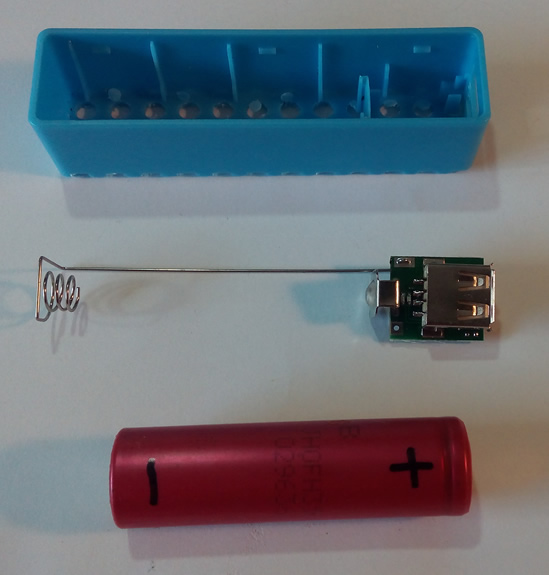
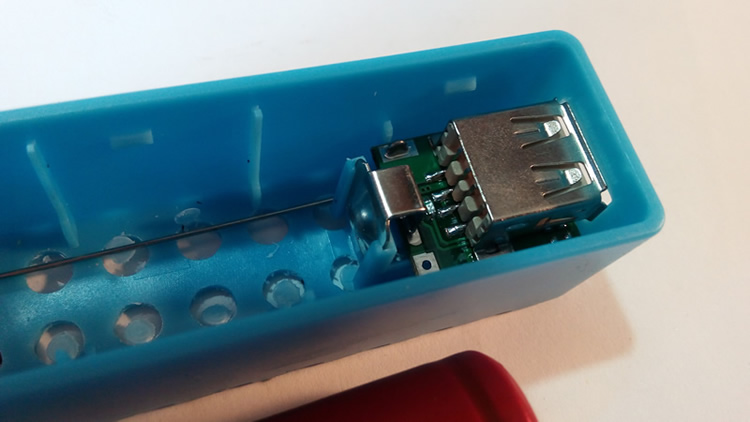
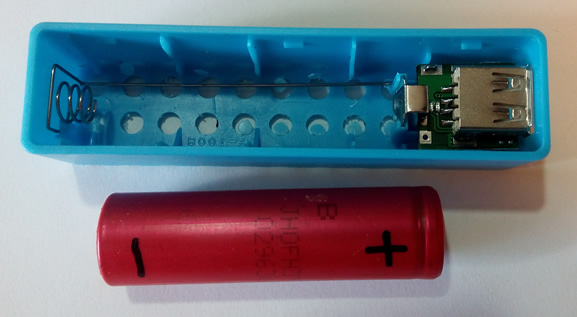
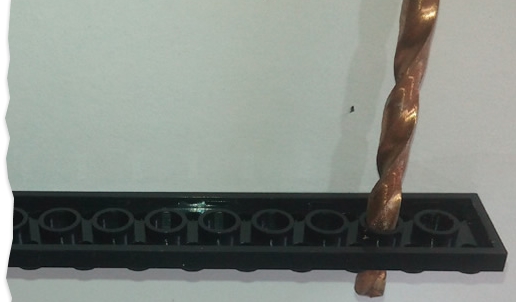
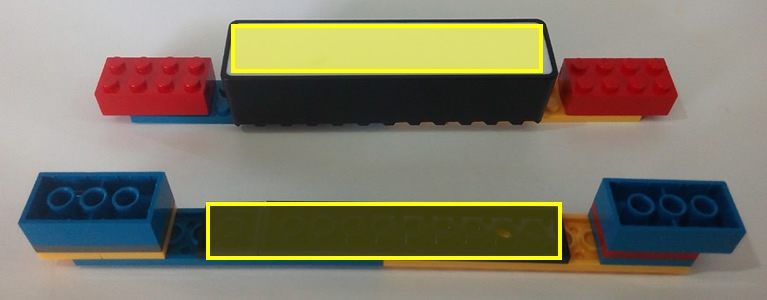
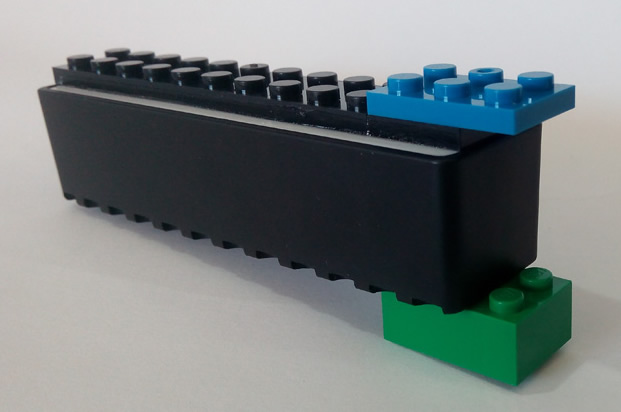
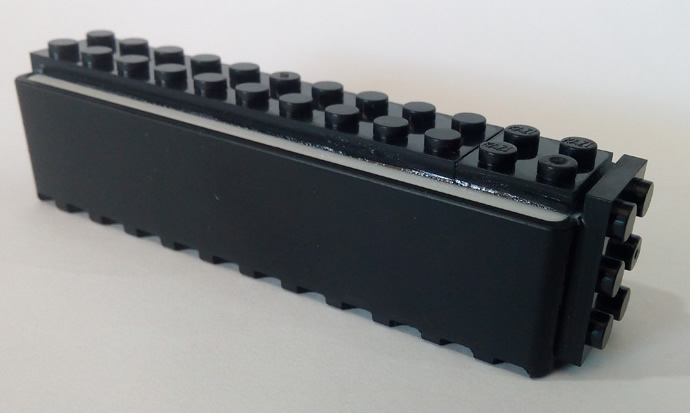
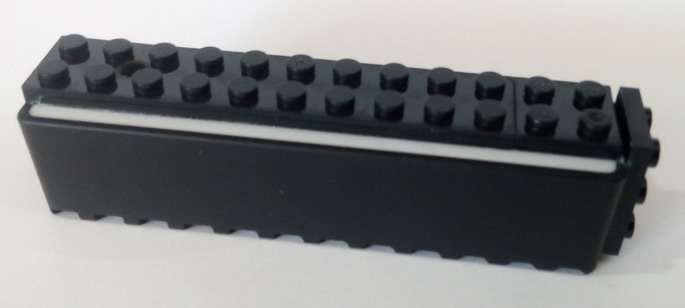
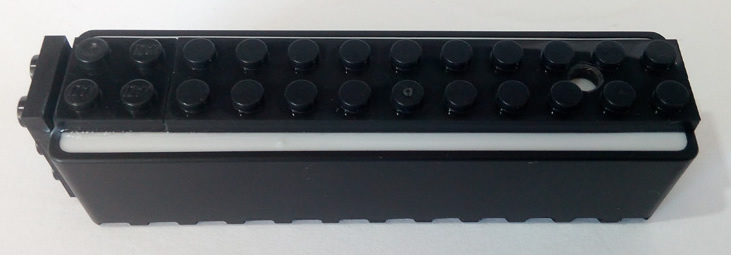
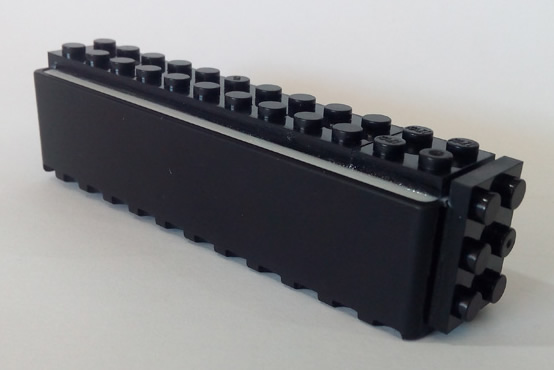
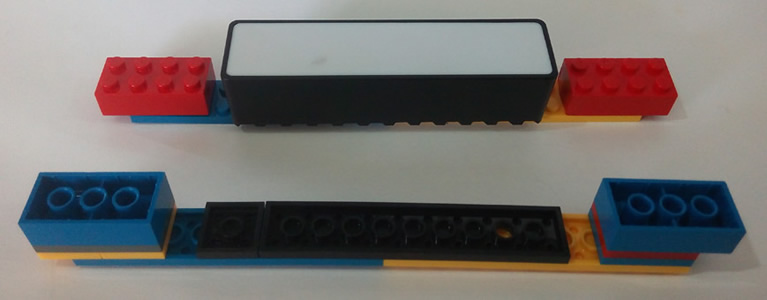
Build a jig that looks like this
  4. Jig
    Place your "black" 2x12 brick into the jig
    If you don't have a 2x12 you can use a 2x10 + 2x2
  5. PowerBlock
    Place the PowerBlock in the jig
  6. PowerBlock
    Pull the jig in half
    If you don't have a 2x12 you can use a 2x10 + 2x2
  7. PowerBlock
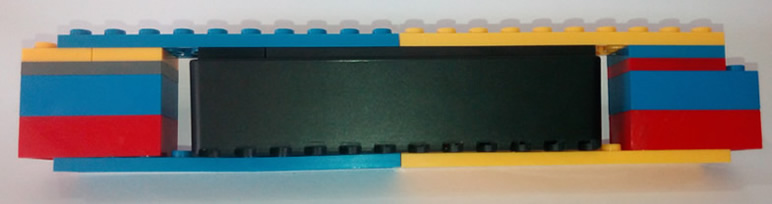
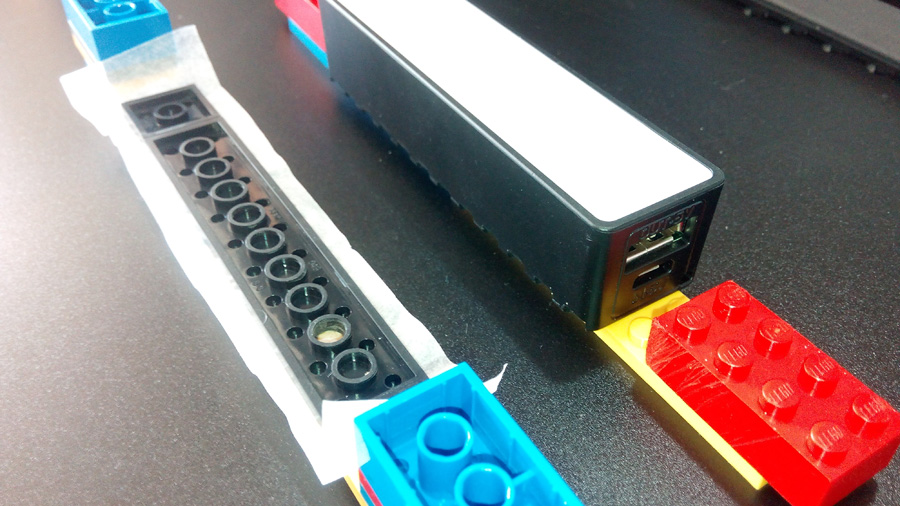
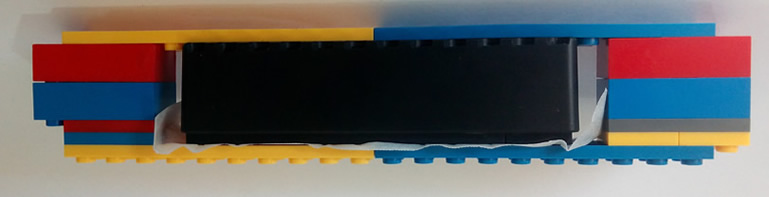
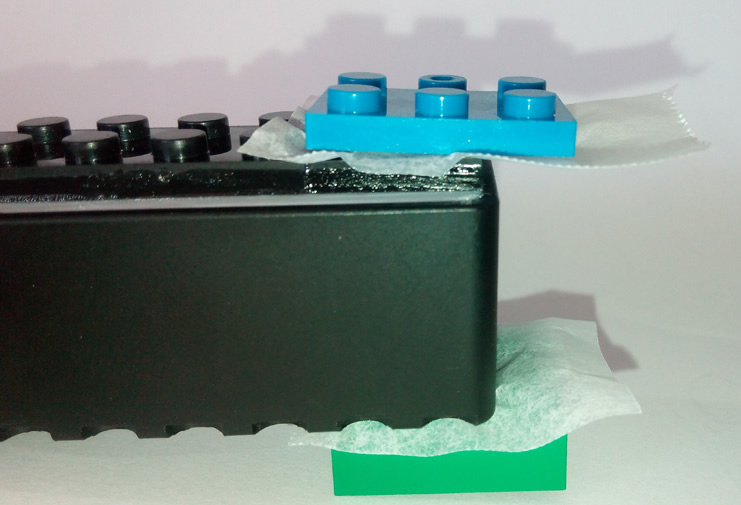
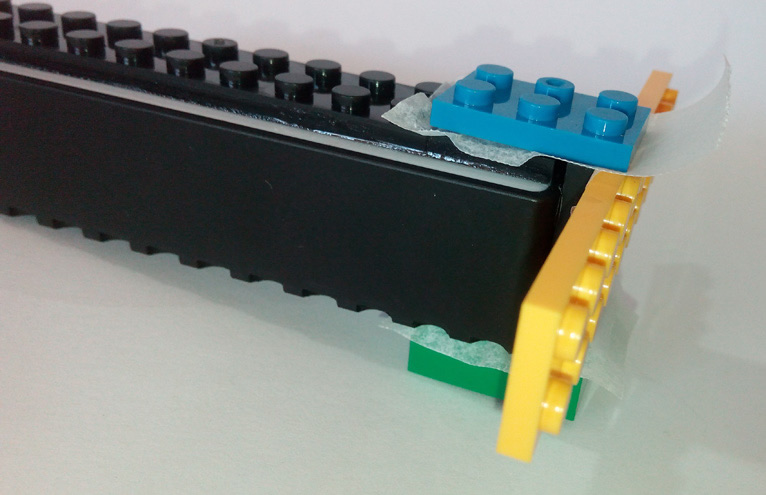
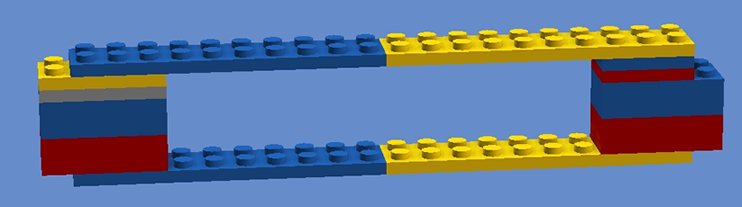
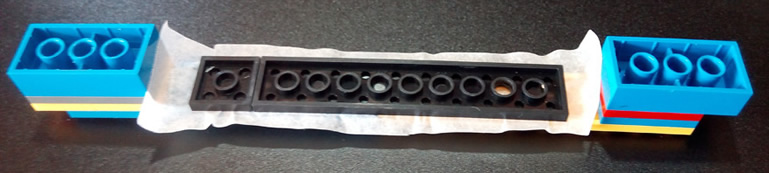
Remove the "black" brick that will be glued and place wax paper under it
    If you don't have a 2x12 you can use a 2x10 + 2x2
  8. PowerBlocksandpaperq-tip
    Sand and Acetone the top of the PowerBlock
    Sand and Acetone bottom of the "black" 2x12 brick
  9. PowerBlock
    Ensure the end with the hole you drilled is at the end of the PowerBank with the USB connectors
  10. Stop
    Check with Mr. Dash before continuing
  11. brick

    Superglue the edges and circles of the 2x12 brick
    Superglue only goes on edges (do not fill the holes)
  12. PowerBlock
    Carefully bring the PowerBank down onto the "black" brick.
    Press firmly (but not too hard) together for 1 minute.
    Do not wiggle, move, slide any part of the assembly while gluing.
  13. clock
    Wait at least 5 minutes before removing the jig
    You don't need to hold it during this time


Assembly - Part III (Front Lego)

  1. Endsandpaperq-tip
    Sand the end of the PowerBank
    Acetone the end of the PowerBank
    Ensure it is the end that does NOT have the USB connectors
  2. PowerBlock
    Build this small jig on the end
    Make sure it is the end without the USB connectors
  3. PowerBlock
    Protect the new end-jig using 2 pieces of wax paper
  4. 2x3 Bricksandpaperq-tip
    Sand the bottom of the 2x3 "black" brick
    Acetone the bottom of the 2x3 "black" brick
  5. PowerBlock
    Build another jig to hold your 2x3 "black" brick
    Protect the jig using wax paper
  6. Stop
    Check with Mr. Dash before continuing
  7. PowerBlock
    Superglue the edges and circles of the "black" 2x3 brick
    Superglue only goes on edges (do not fill the holes)
  8. PowerBlock
    Carefully bring the jig with the "black" 2x3 brick onto the end of the PowerBlock
    Press firmly (but not too hard) together for 1 minute.
    Do not wiggle, move, slide any part of the assembly while gluing.
  9. clock
    Wait at least 5 minutes before removing the jig
    You don't need to hold it during this time
  10. PowerBlockPowerBlockPowerBlock
    You're Done! This is what it should look like when you are finished.


Connection Diagram

  1. Charging Mode

    Charge
    To charge your PowerBlock plug it into a USB port on your computer:
    Big USB end into the computer
    Small USB end into the PowerBlock


    You should see the charging LED flashing red on the PowerBlock (through the hole you drilled)

    100% Charged Full

    Charged
    When the PowerBlock is fully charged the LED will stop flashing and stay on.
  2. In Use Mode

    To use your PowerBlock plug your BrainBlock into it:
    Big USB end into the PowerBlock
    Small USB end into the BrainBlock

    Using
    UseUse
    Some PowerBlocks will show a Blue LED when in use
    (Don't worry if yours does not)


Scroll to Top